Introduction
Used primarily by technicians and foremen to complete their daily workload, Inspect is the digital solution for completing vehicle inspections, services & MOTs.
Inspect has been designed to be simple, methodical & above all to reduce the amount of paperwork required. This guide will cover the key workflows & processes for completing the daily workload.
Inspect has its own tour guide which briefly explains the specifics.
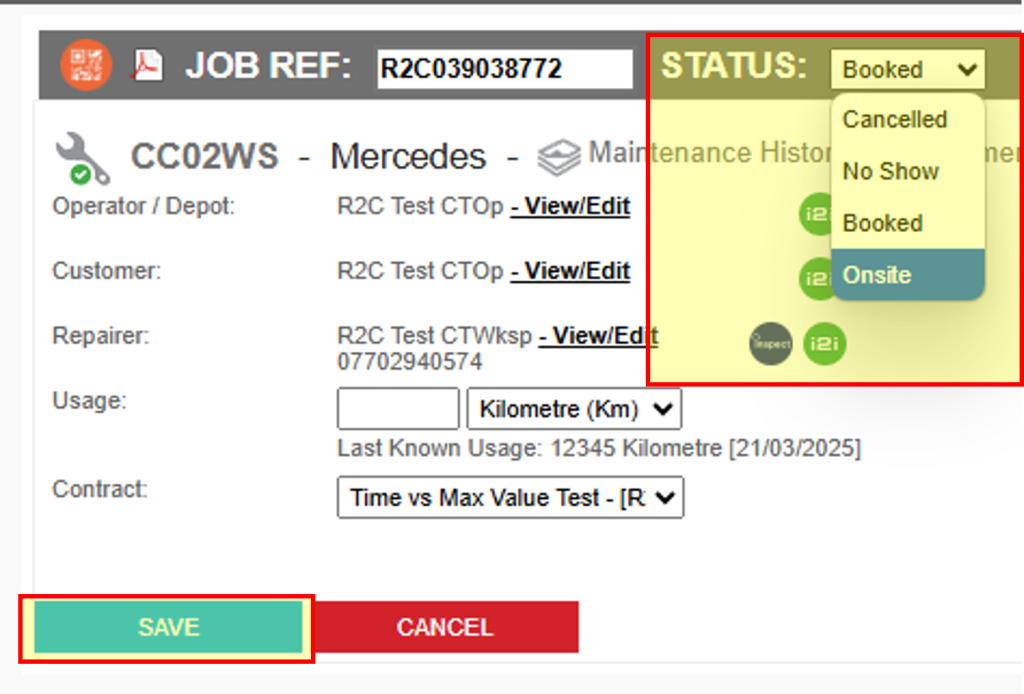
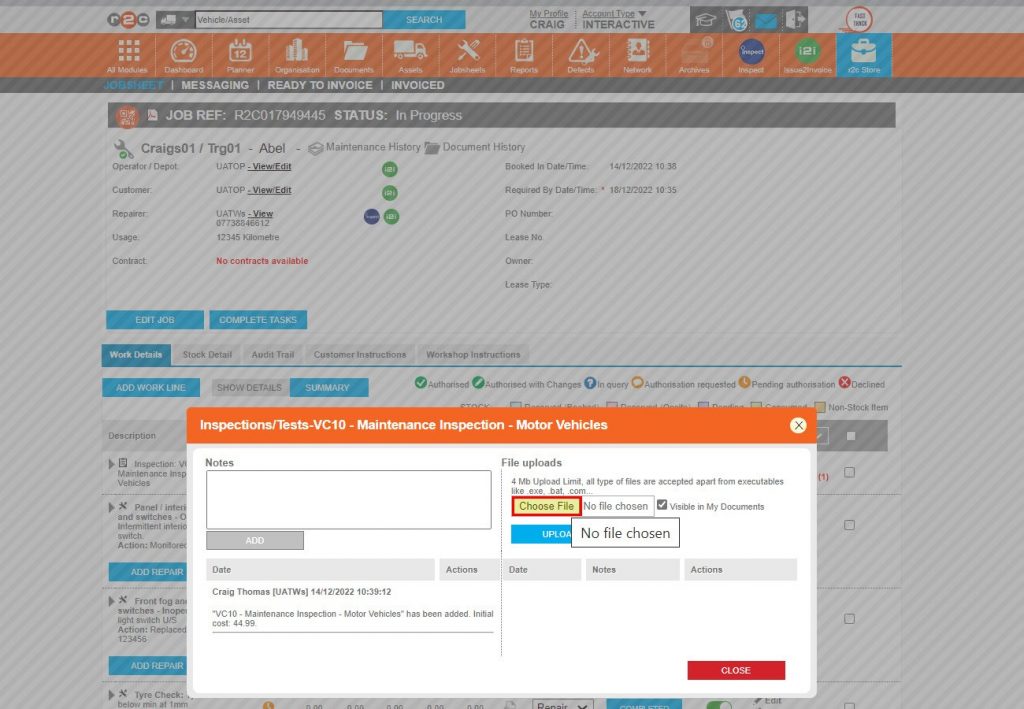
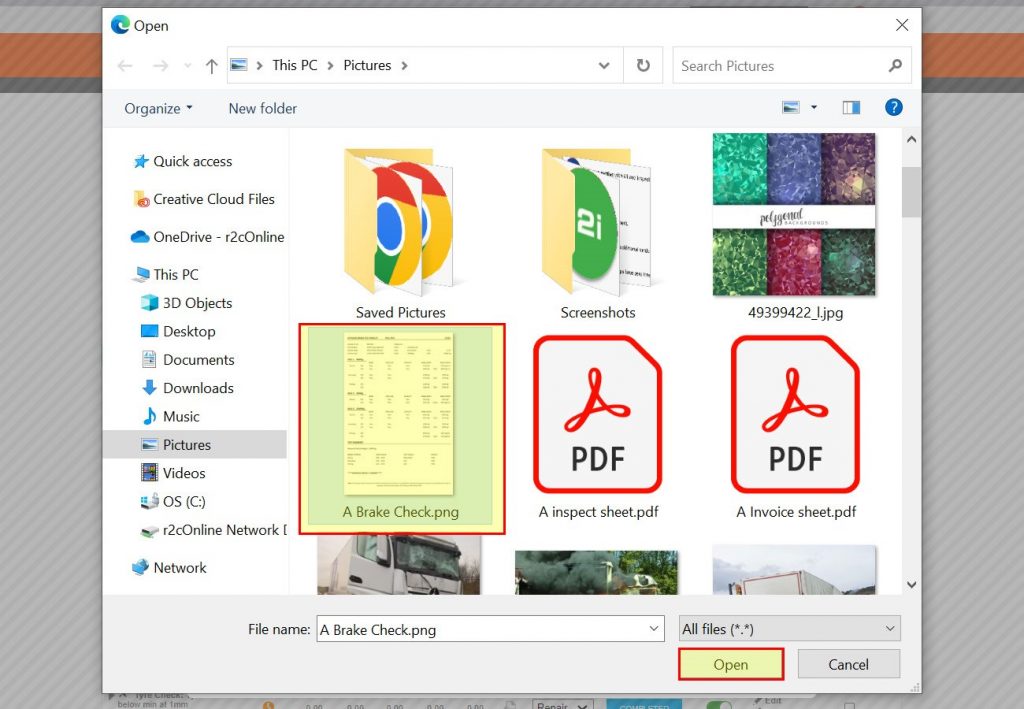
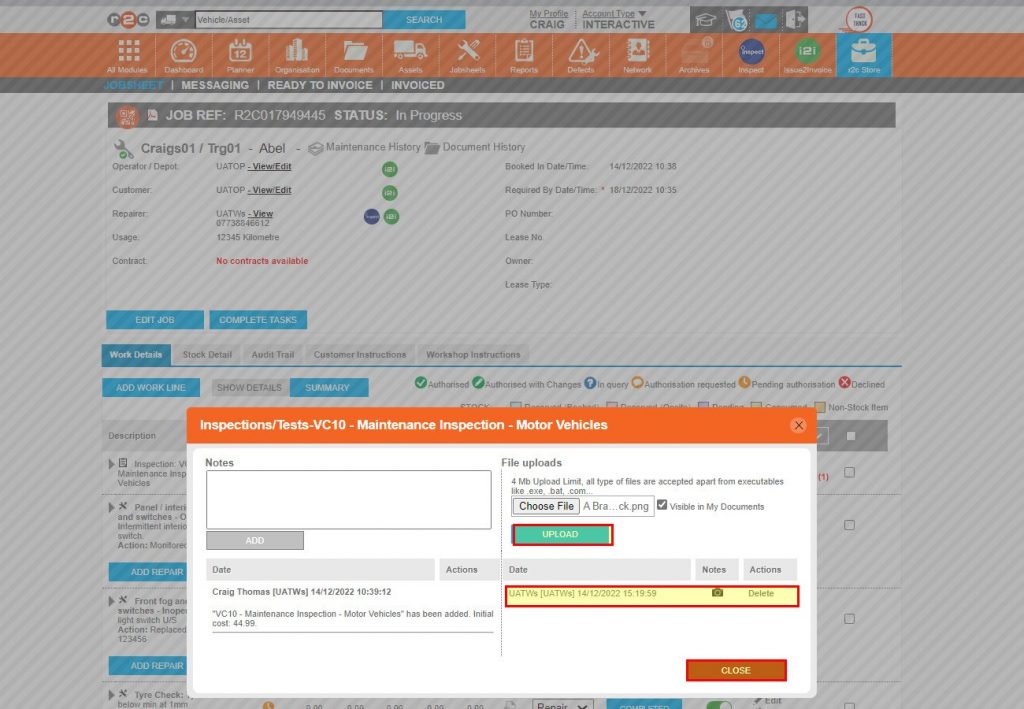
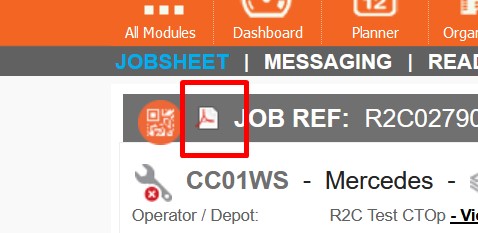
The IM Ref material displays in a digital format, however, it can be downloaded in its original pdf format via the pdf icon,
Multiple questions can be answered all at once for either the section or the task, clicking one of these a second time will reset the questions but will not reset those questions answered specifically.

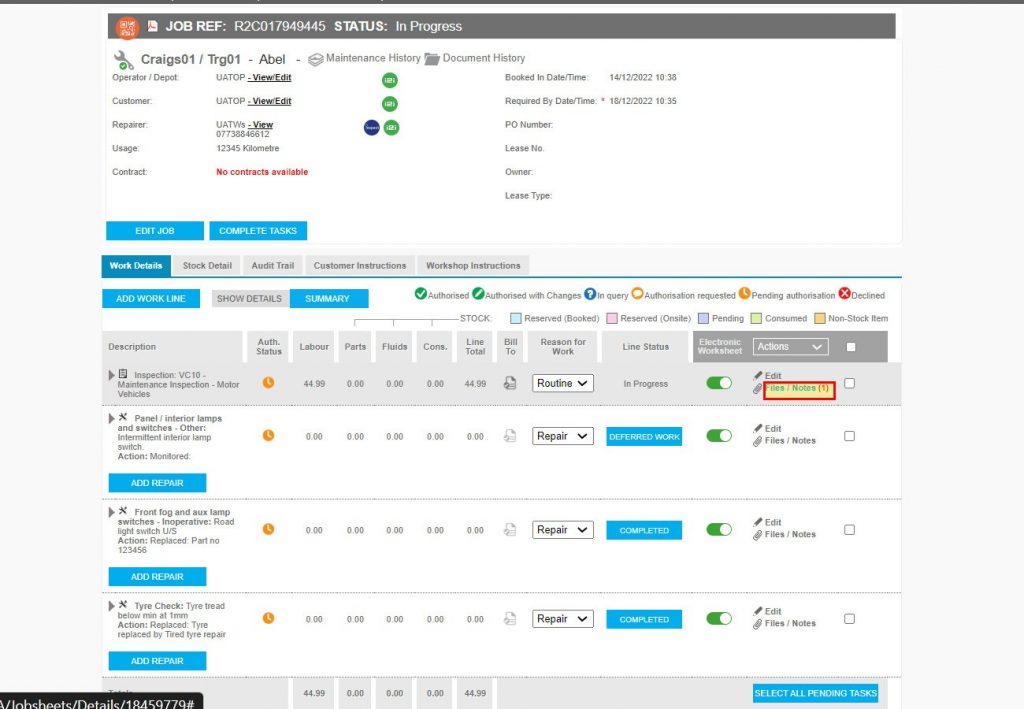
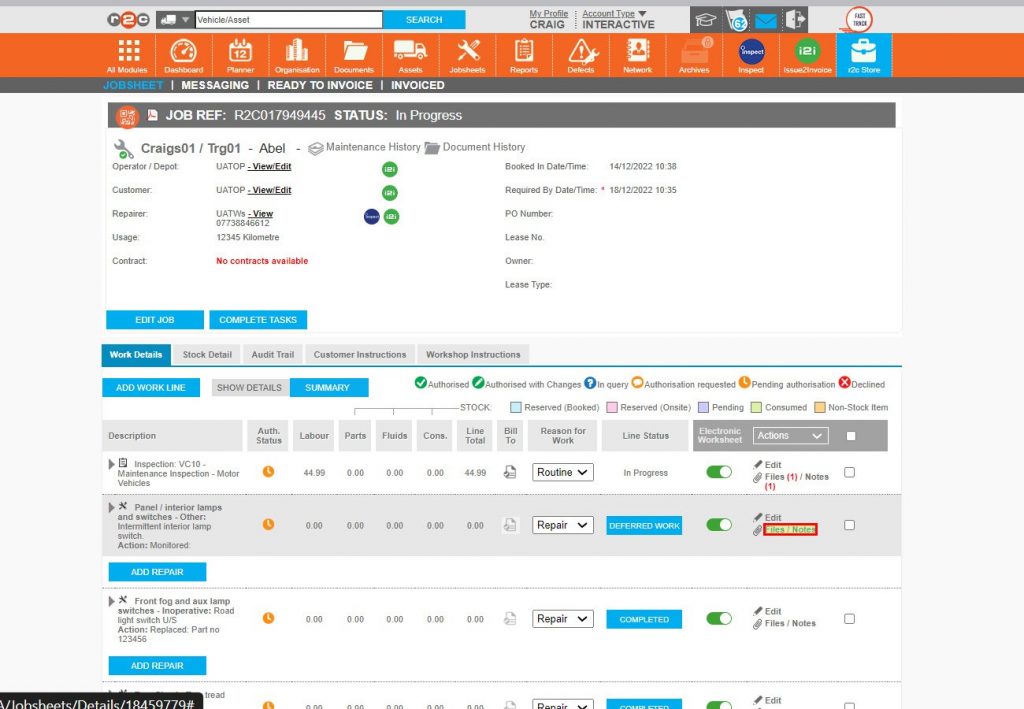
Notes can be entered on the jobsheet-Workshop Instruction tab for the benefit of the technician in inspect and vice versa, the technician can enter notes in inspect for retrieval later on the jobsheet. Workshop Instruction/Notes will not go to the customer and is a workshop-only tool.
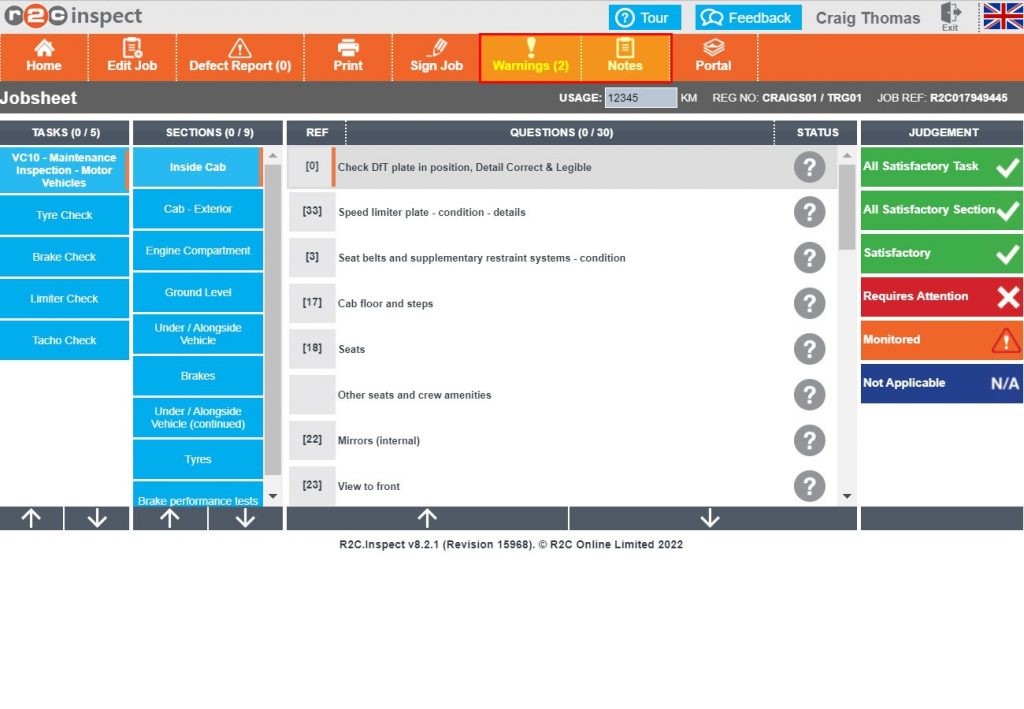
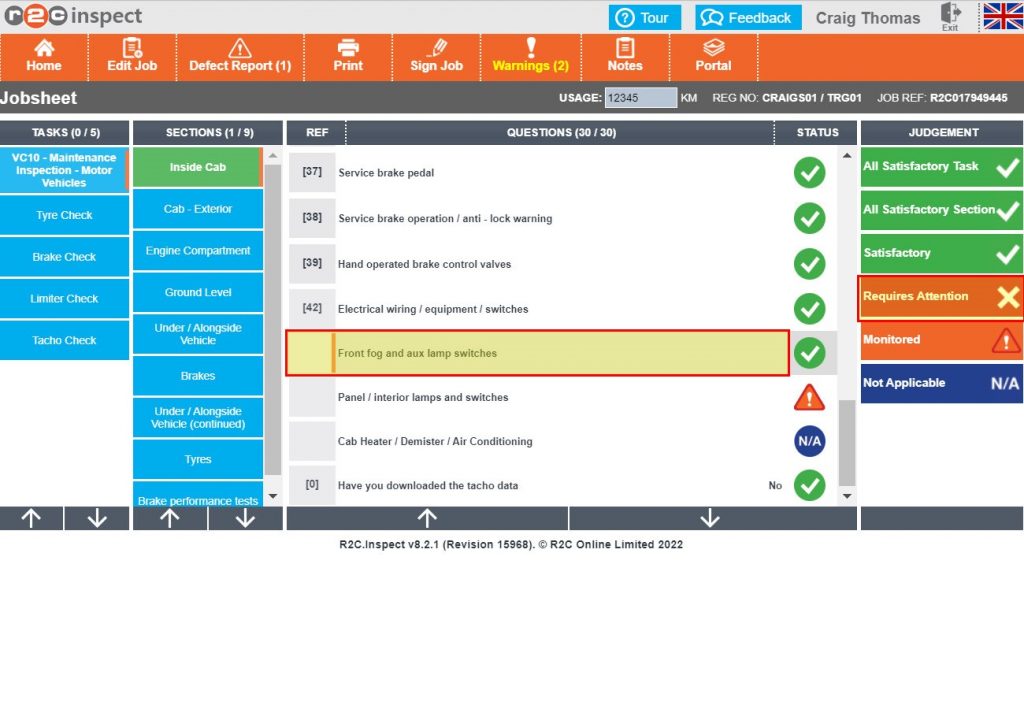
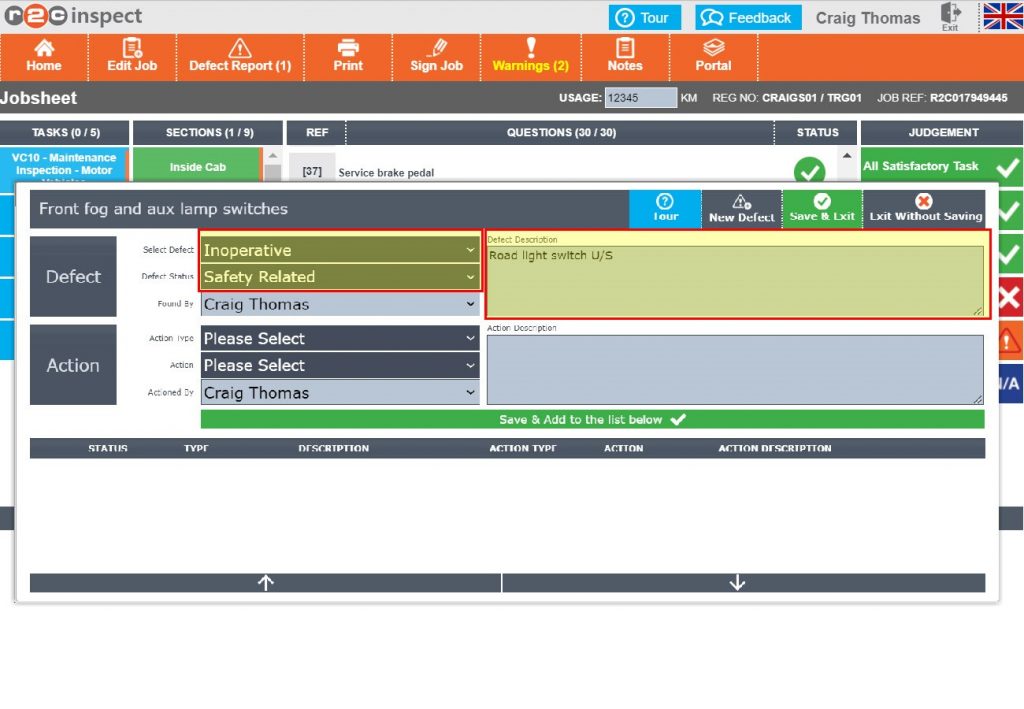
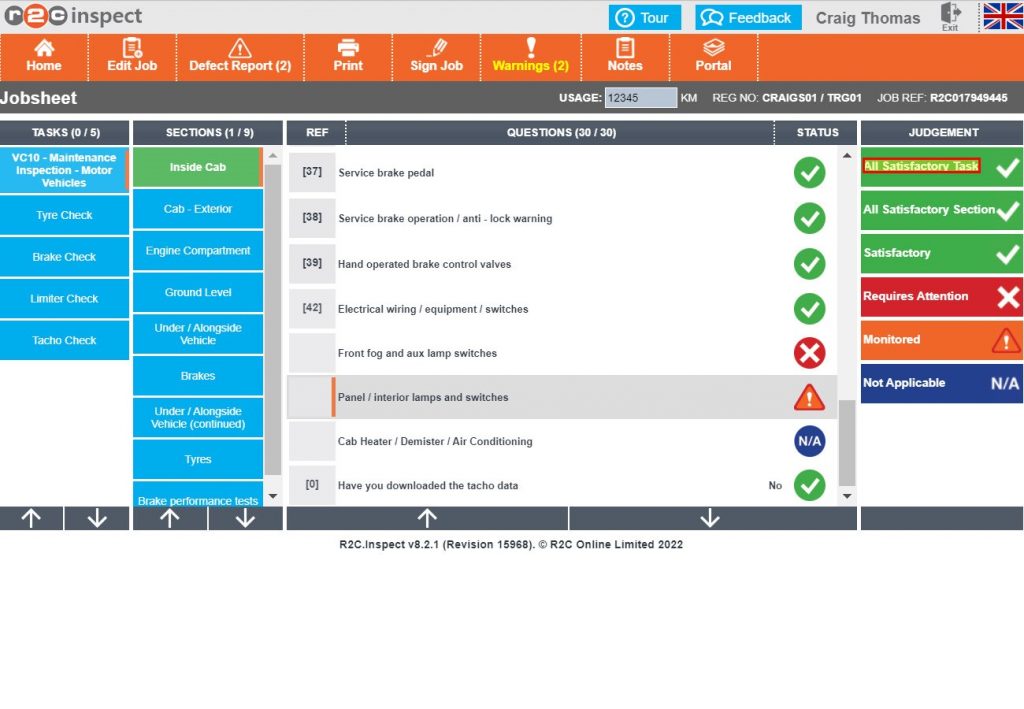
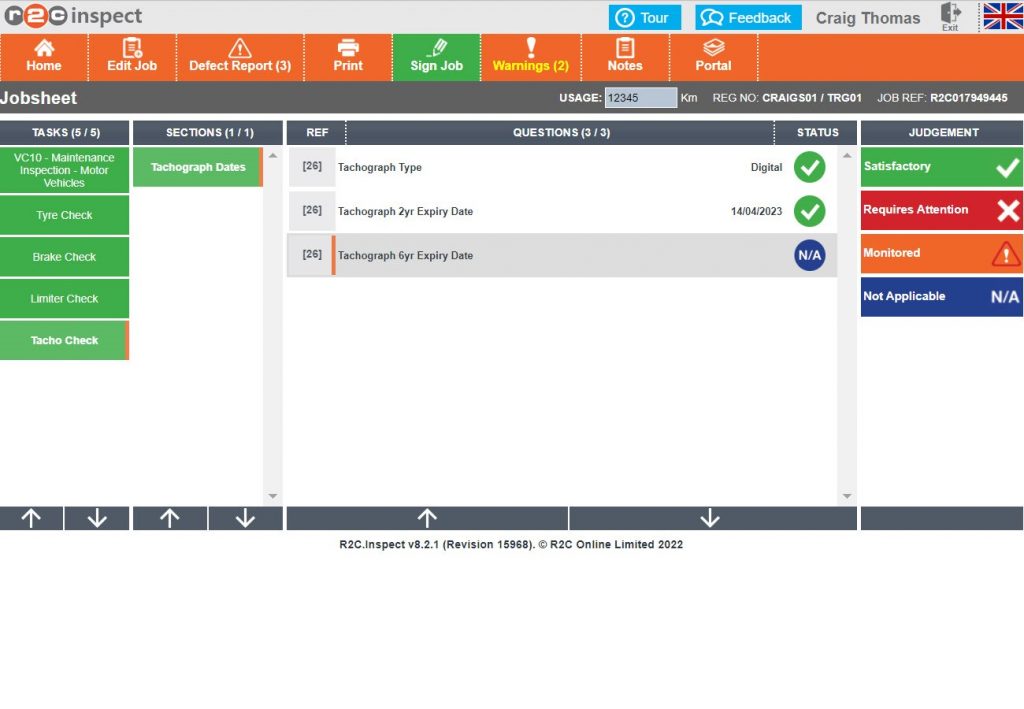
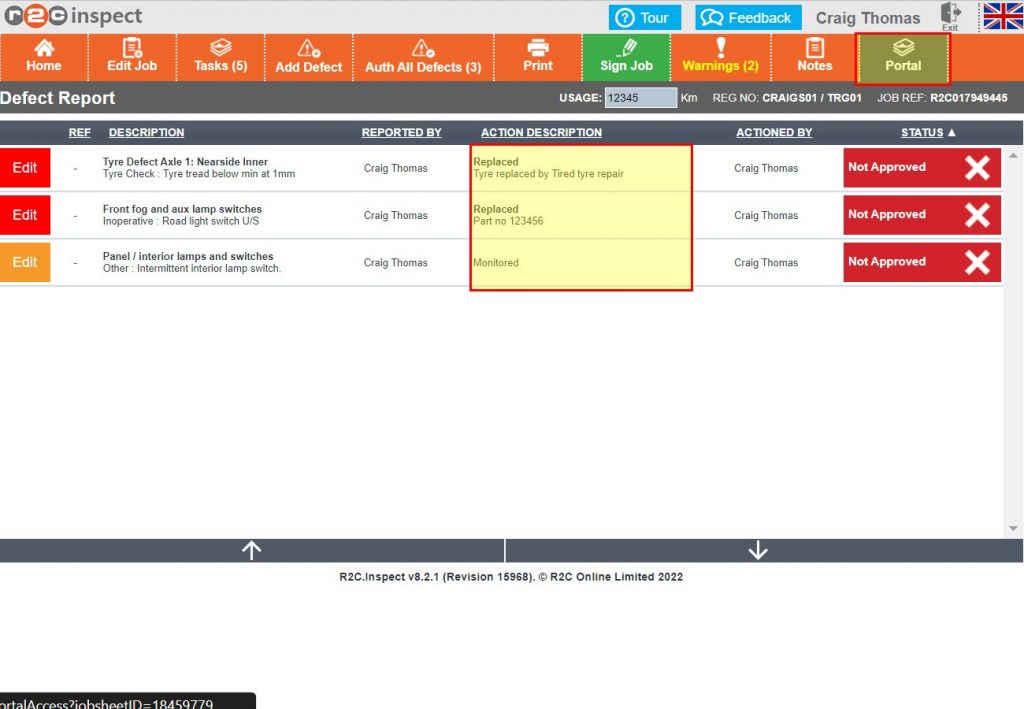
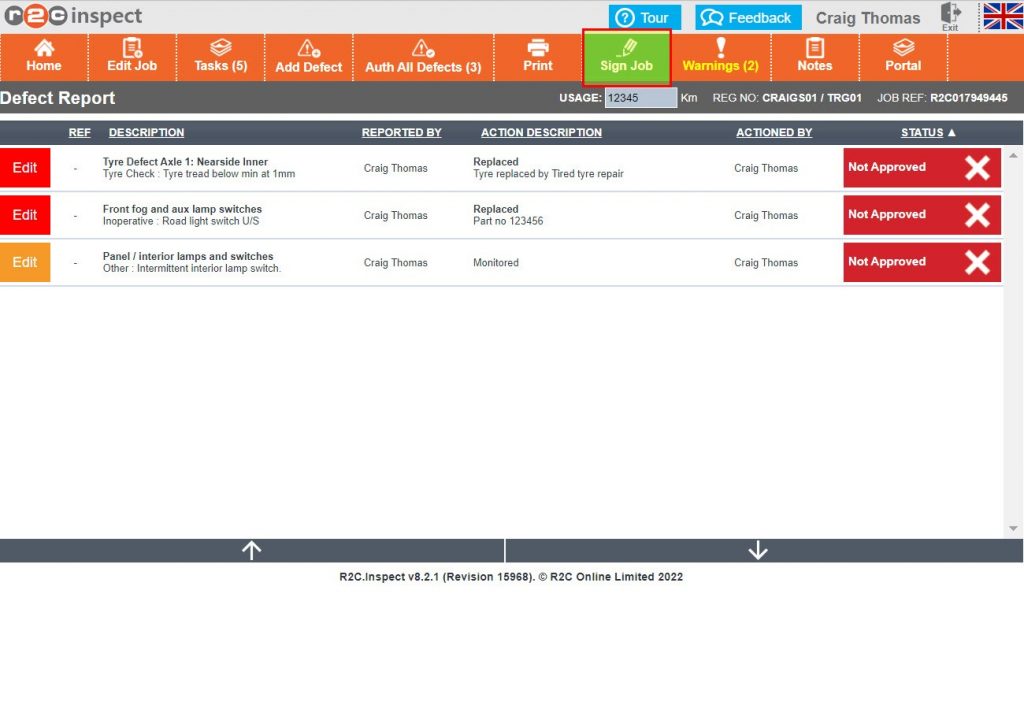
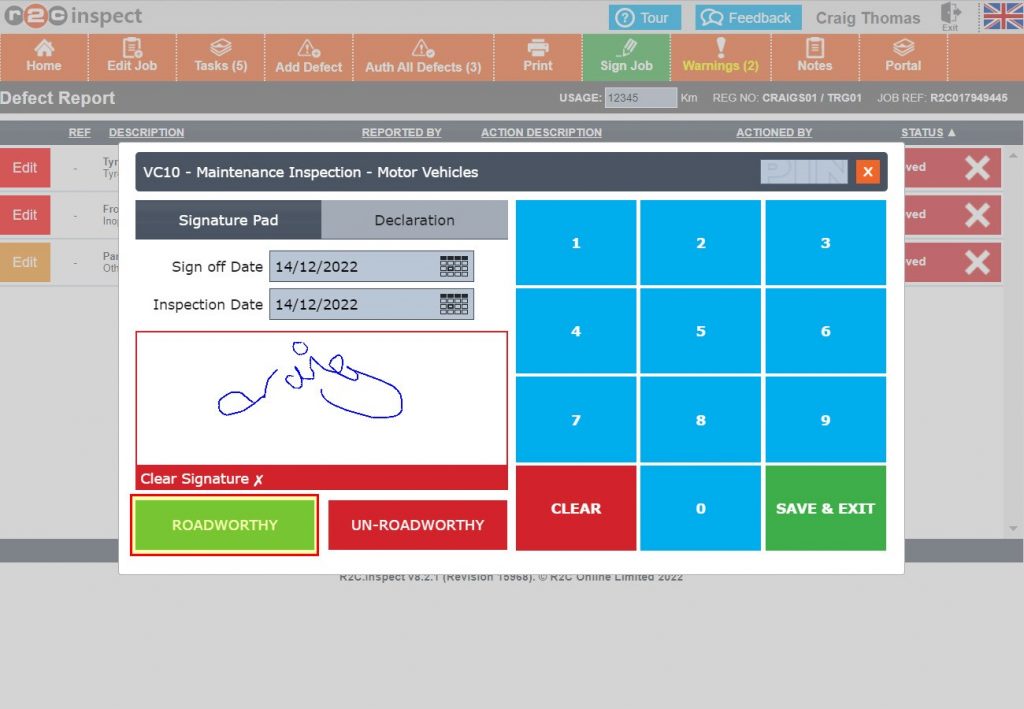
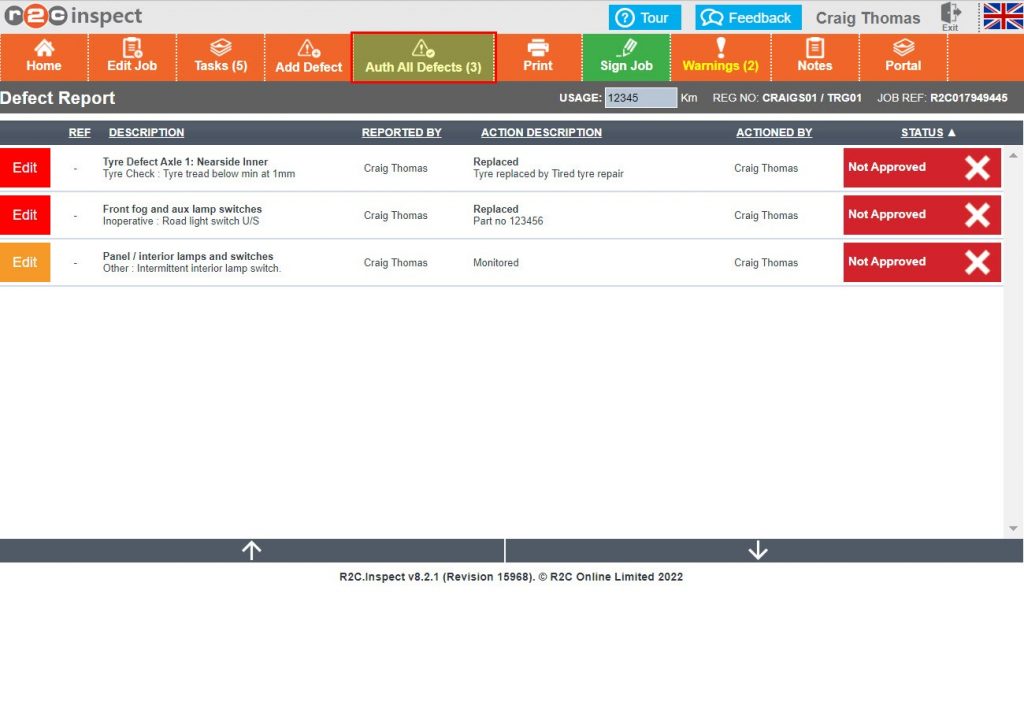
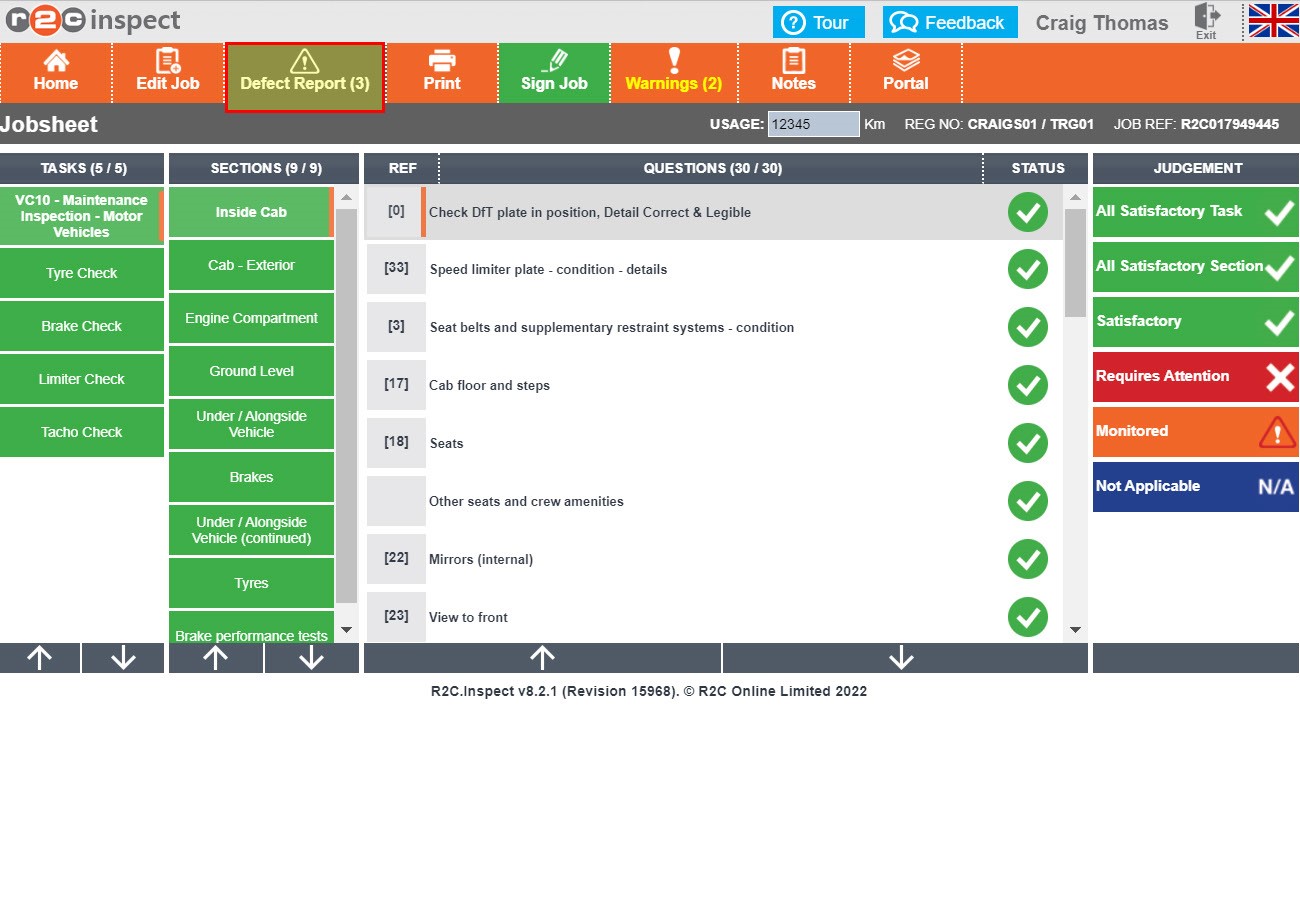
Step by Step
Jobsheet Status – Inspect Overview
By default, Inspect displays only jobs that are currently Onsite, In Progress, or Awaiting Sign-Off.
Planned or Booked jobs will not appear in the Inspect job list.
To ensure your job appears in Inspect before you begin, you may need to review and update its status in advance.
Here’s how:
- Open the Jobsheet in the Portal and click ‘EDIT JOB’
- From the Status dropdown, select ‘Onsite’.
- Click ‘SAVE’ to apply the changes.
Once updated, the job will be visible in Inspect and ready to start.
Inspect Login – To see the steps taken for a technician or foreman to log in to inspect, click or swipe through the 3 steps below.


Locating & Opening Inspection Sheets – To see the steps taken to locate inspection sheets, click or swipe through the 6 steps below.


Completing a digital Inspection – This guide has been broken into the below step by step sections for how to complete a jobsheet in inspect.
- Stage 1 – Carrying out an Inspection: Answer the main inspection sheet questions
- Stage 2 – Amending judgments and raising defects: Review and amend any answers and raise defects where needed
- Stage 3 – Additional tasks: Complete any spawned tasks where applicable e.g. Tyre and Brake Check
- Stage 4 – Actioning Defects: Action the defects raised
- Stage 5 – Attachments: Upload any additional documents and images via portal
- Stage 6 – Job sign off: The job will need to be signed off by the technician once completed, the defects can then be checked and the overall job can then be signed off by the Foreman
Stage 1 – Carrying out an Inspection – To see the steps taken whilst carrying out an inspection, starting with adding judgments for questions, click or swipe through the 9 steps below.


Amending judgements and raising defects – To see the steps taken for raising defects whilst carrying out an inspection, click or swipe through the 5 steps below.


Additional Tasks – To see the steps taken for completing spawned tasks whilst carrying out an inspection, click or swipe through the 5 steps below.


Actioning defects – To see the steps taken for adding action responses to defects, click or swipe through the 4 steps below.


Attachments – To see the steps taken to add attachments such as Brake tests and images, click or swipe through the 6 steps below.


Stage 6: Job Sign off – To see the steps taken to sign off the job as a technician click or swipe through the 5 steps below.


Foreman’s Sign-Off – The final step is to review the defects and sign off the job as a foreman. click or swipe through the 6 steps below.


Create a Job in Inspect – To see the steps taken to create a new job sheet, click or swipe through the 5 steps below.


Technical Info & Self Help
Where can i find the Signed Inspection Sheet
Inspection Sheets or Defect Sheets can be found in inspect up to the point of completion and in multiple locations in the portal, Jobsheets/inspection sheets are never removed from r2c.
Example Inspection PDF
What is the difference in Defects
There are really only two levels of defect, Safety and Not Safety, A Monitored item is more for the workshops benefit however these are still reported to the customer for their informed decision.
Requires Attention | Safety Related | Safety related defects that are left as Open are forced to be signed off as Un Roadworthy. |
|---|---|---|
Requires Attention
| Not Safety Related | Not safety related defects that are left as Open are minor defects, where the customer has been informed it can be thought of as an advisory. |
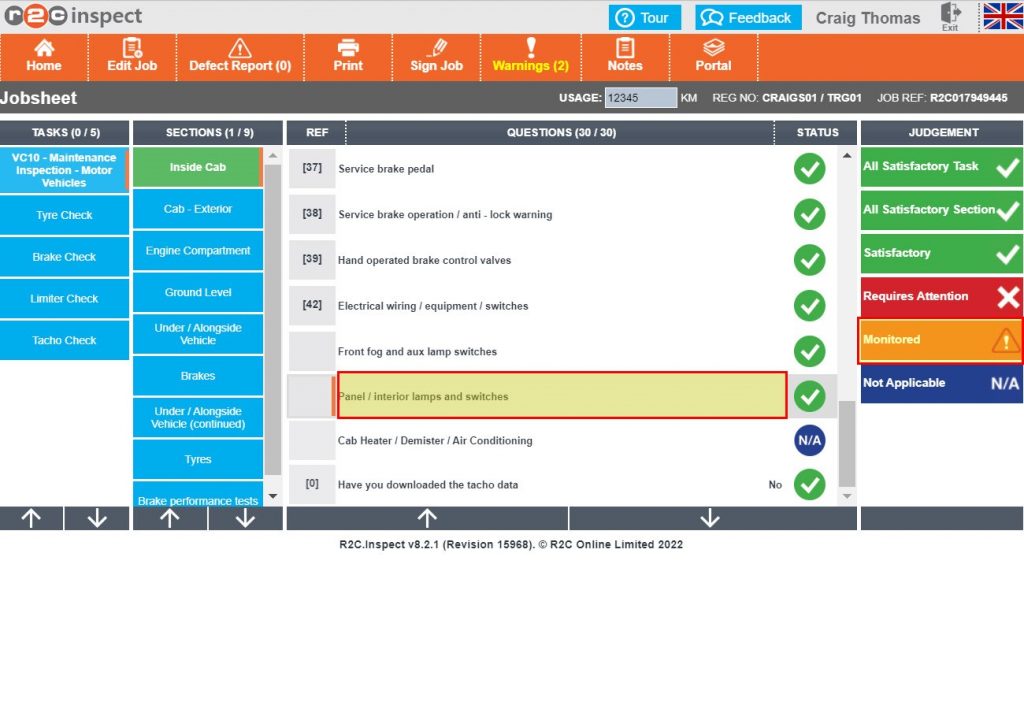
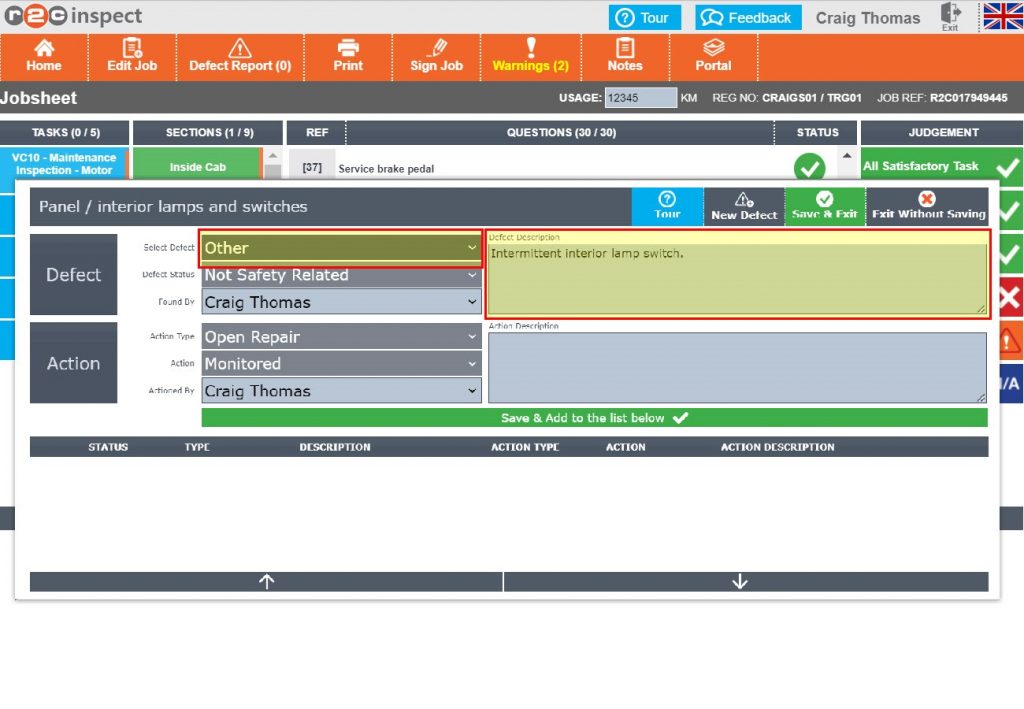
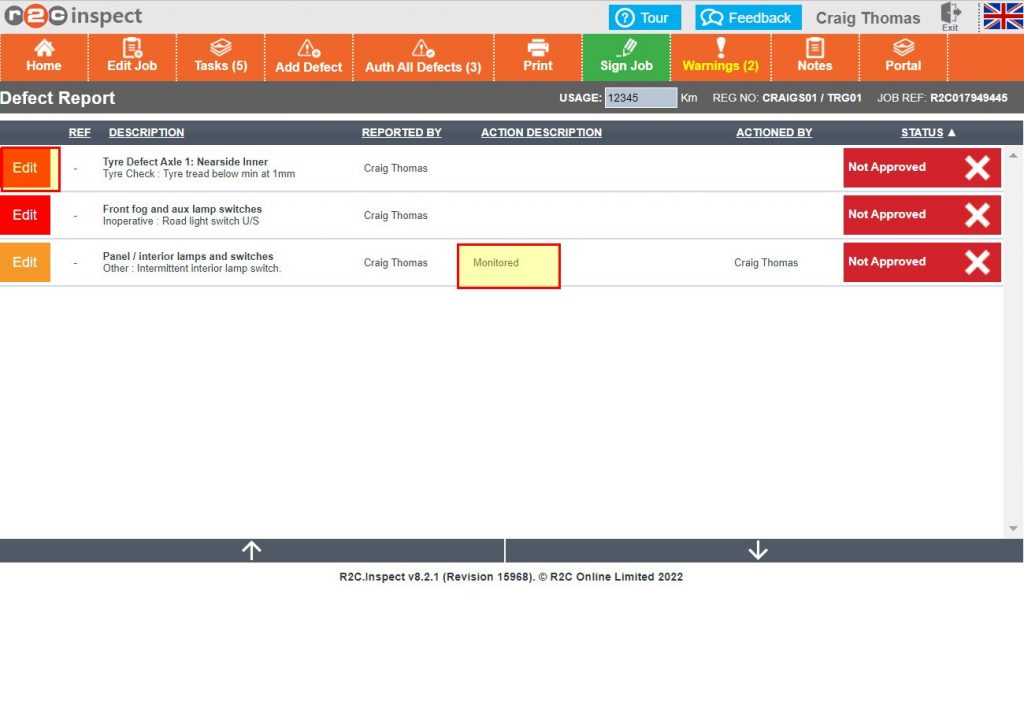
| Not Safety Related | A monitored defect has to be Not Safety Related and is primarily for use by the workshop to flag up as a potential defect the next time it’s in the workshop. |
Why can't I see jobs in inspect?
To see jobs on the inspect home page they must first contain a digital task and then be marked as onsite on the jobsheet in Portal. They will then go through the below stages until complete at which point the job will disappear from the inspect platform. The job status is also role-specific, for example, a foreman-only role cannot see any jobs until they are ready to be signed off. An advanced search will display all jobs irrelevant of their status.
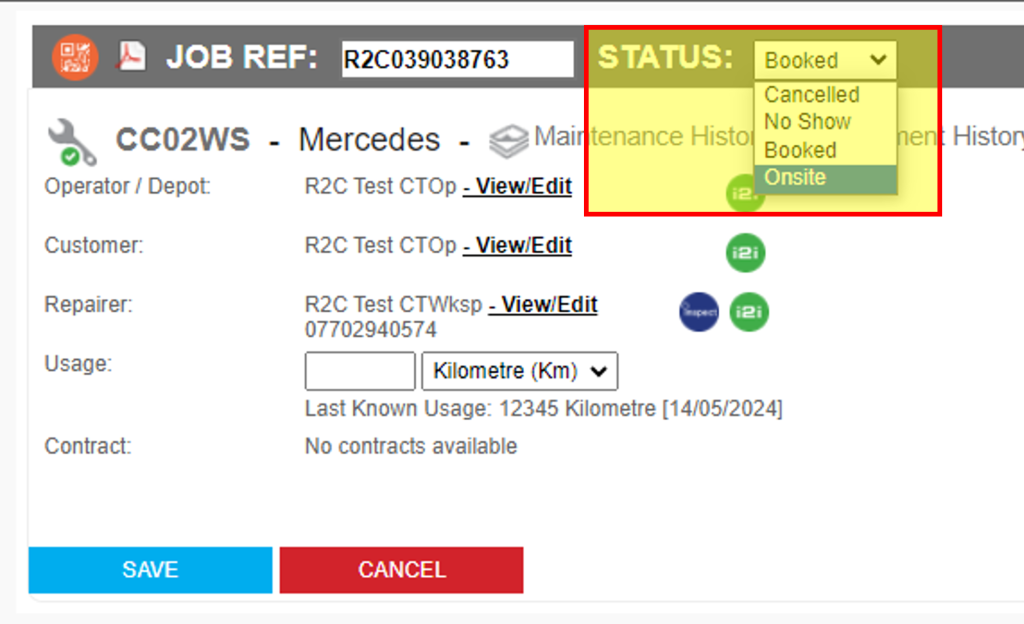
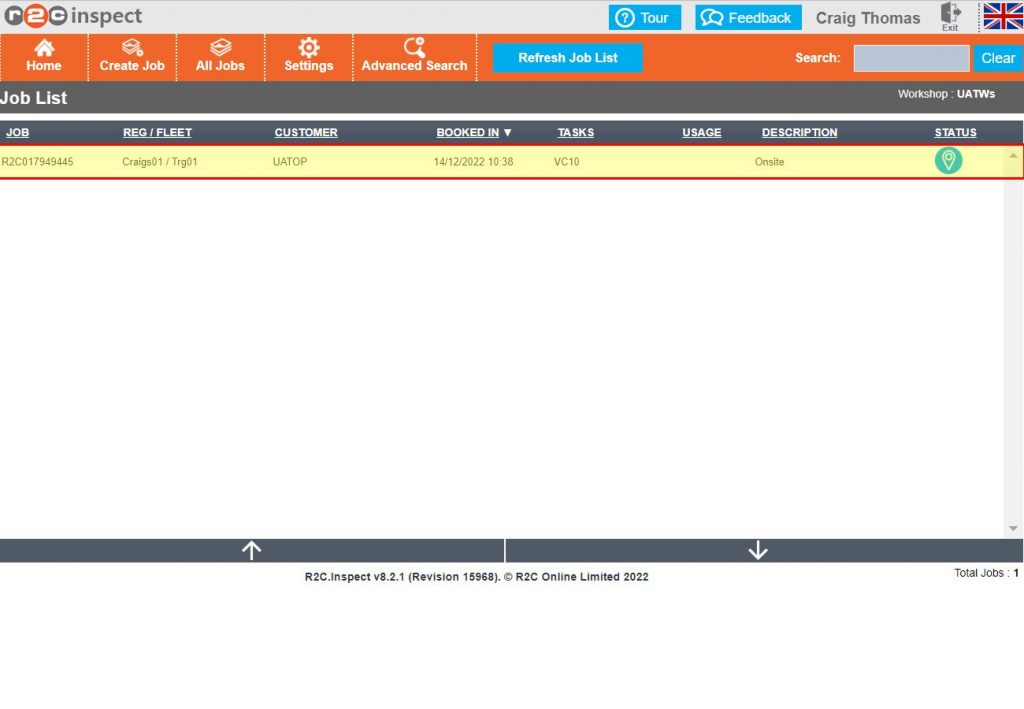
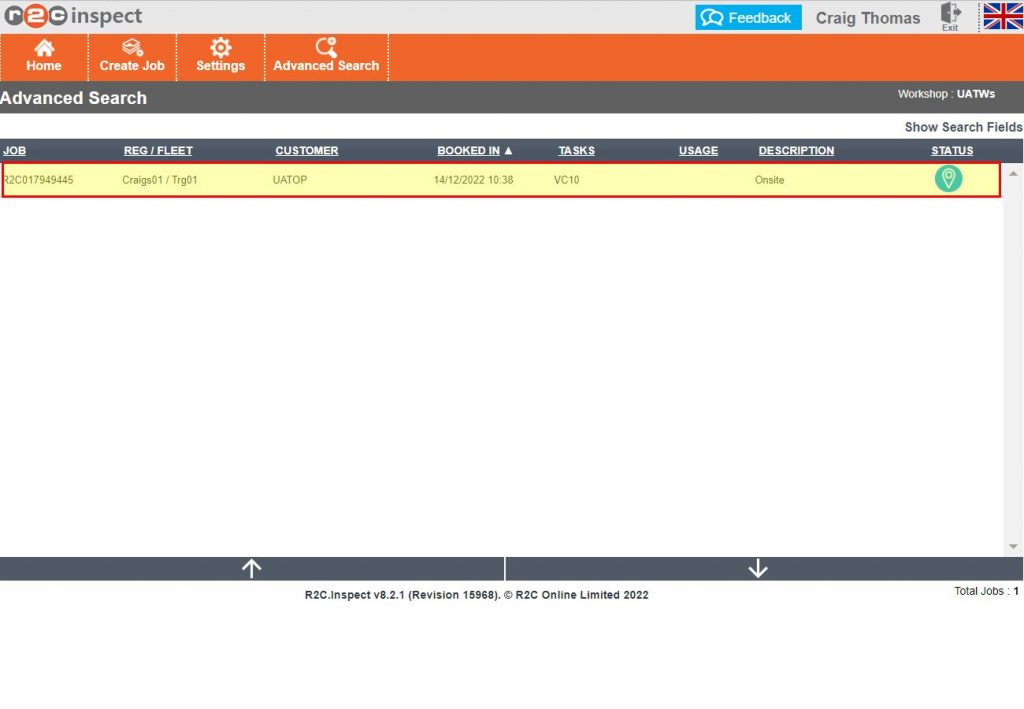
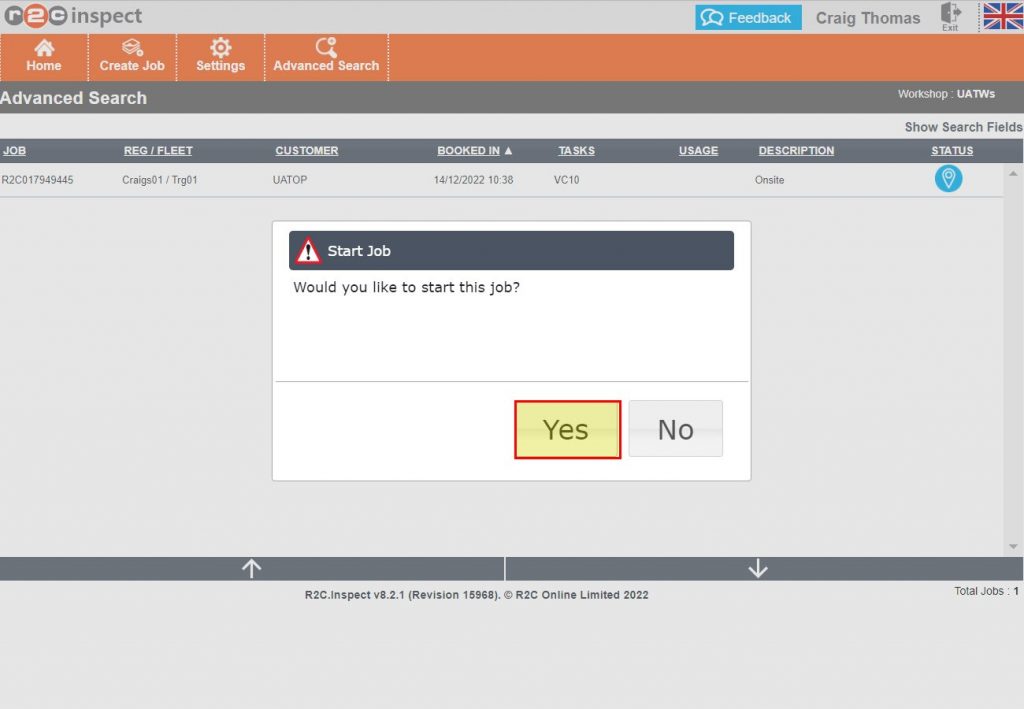
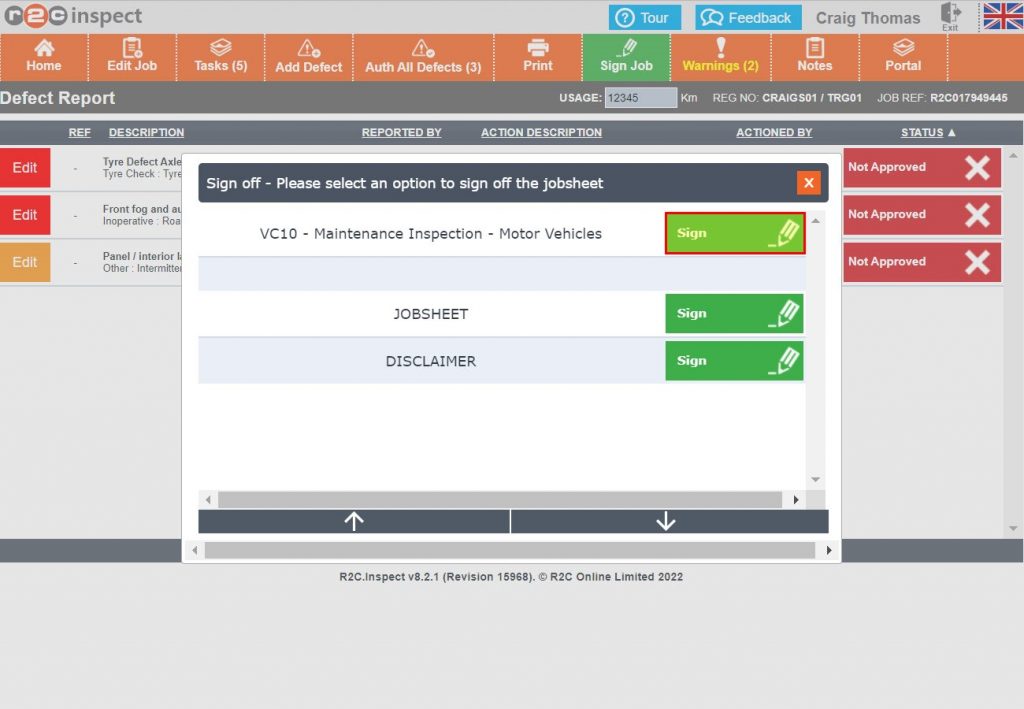
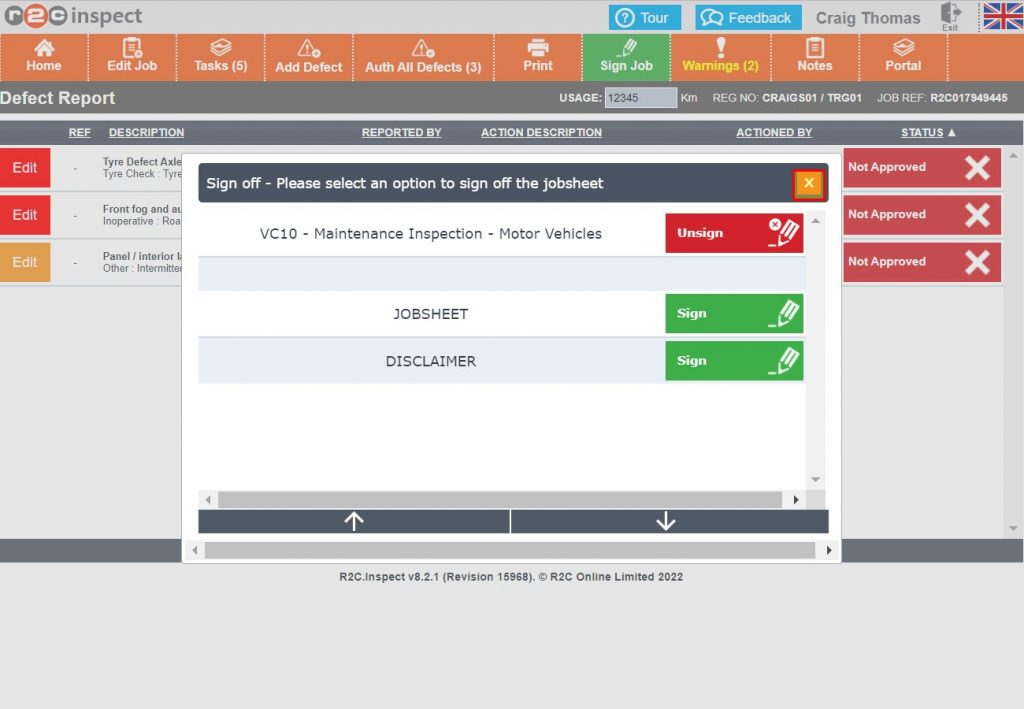
| Onsite – Technicians role, work waiting to be started | |
|---|---|
| In Progress - Technicians role, work ongoing. | |
| Awaiting Technicians Signoff – Technicians role, work complete but not yet signed by the technician. | |
| Awaiting Foreman Signoff – Foreman role, work complete and signed by the technician but not yet signed by the foreman. |
Changing a Job Status
To change a Job status, first click ‘edit job’ and then from the status drop down choose ‘Onsite’. Click ‘Save’ to update the job. Once Onsite, digital jobs will show in Inspect.
Digital Tasks
Digital work lines that are completed in Inspect can be identified from the green toggle bar. A job must contain at least one electronic task in order to be accessible in inspect.
Please note, that defect lines can be completed in both Portal or Inspect. As a default these lines always display with a grey toggle.

